Installation Nstructions

Preparation Before
Installation

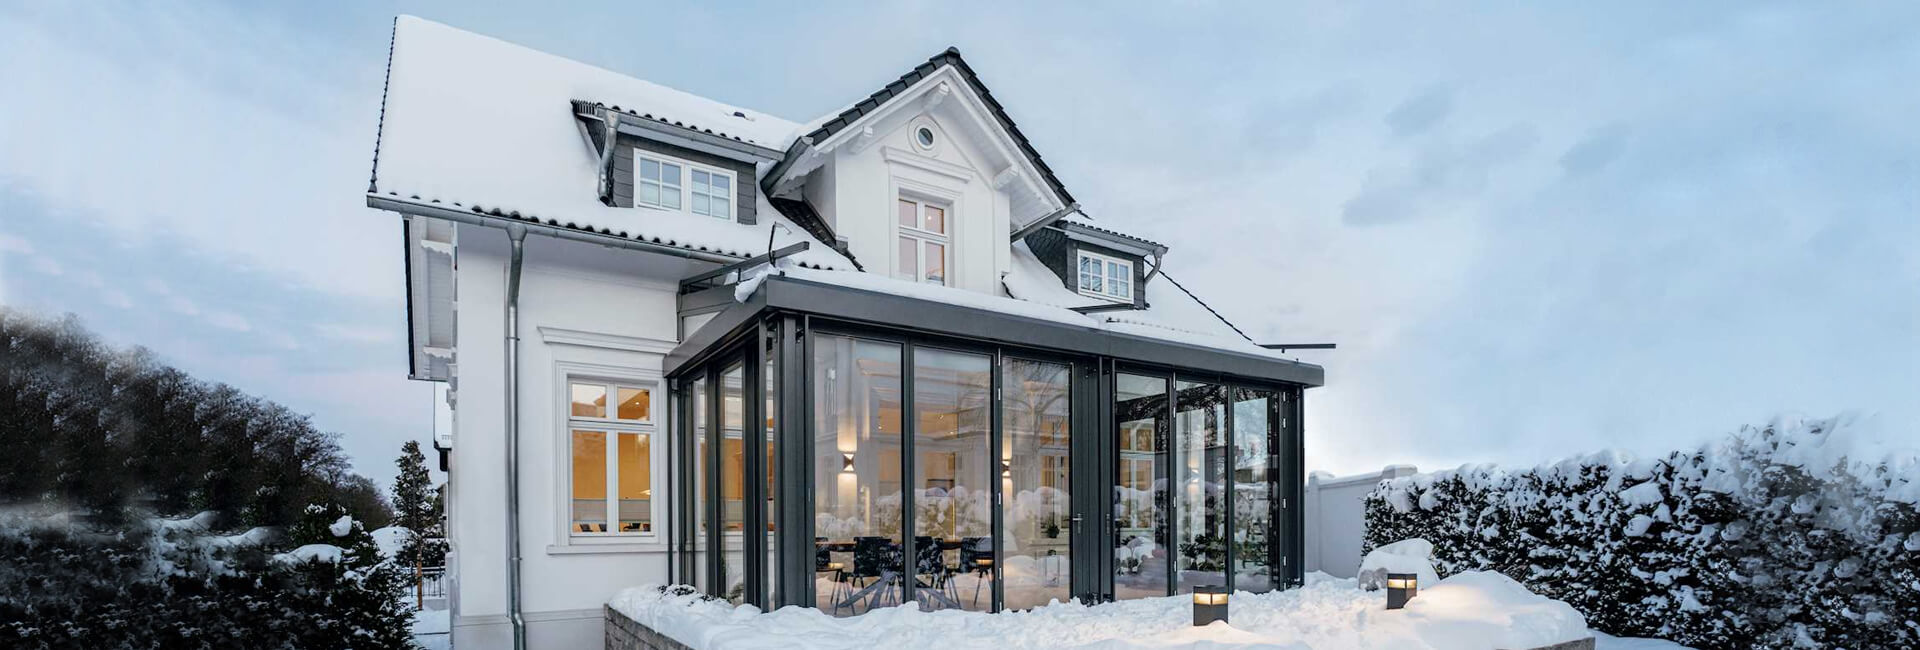
01. Confirm the construction site: Confirm the installation site location and floor height

2.Measurement: Measure the length and width of the installation location,as well as whether the diagonal dimensions are consistent.Allow measurement data deviation of ±2mm

3.Leveling: Use a spirit level to find the level of the on-site civil engineering,and use the highest point of the level as the installation level.

4.Record dimensions: Record detailed dimensions on the measuring book

5.Proofreading renderings and construction drawings: Based on on-site measurements,refine the renderings and construction drawings.

Check materials and drawings
before installation

Verify materials:Check whether the quantity, specifications, andquality of materials meet the requirements

Check the drawings:Confirm that the drawings match the actuasituation on site without any omissions or errors

Instalation steps

lnstall Wall Mounted Beams

Fix the rear wall beam in the corresponding position according to the size requirements, and insert explosive screws after spacing the holes to fix it. Note that the explosive screws only need to be fixed, and they should be tightened after the frame is installed.

Instalation steps

lnstall The Pillar

Determine the position of the wall pillars and cornerpillars based on the height difference between the frontand back, and fix them with reverse inserts.

Instalation steps

lnstallation Framework

1.iinstall large side install the large side beam on the column,insert and dock the large side beam, and connect themthrough L-shaped aluminum corner,and fix them withscrews.
2.Install the main beam, insert and dock the main beam andthe large side beam, and connect them through π -shaped angle aluminum.and fix them with screws.
3.Install the auxiliary beam, insert and dock the auxiliarybeam and main beam, and connect them through π -shaped angle aluminum,and fix them with screws.
4.Install the cover plate, all positions with slots need to becovered with the cover plate.

Instalation steps

lnstall Sink And Drain Pipe

1.The sink is installed with screws fixed to the large side beam, andthe position of the water outlet is confirmed according to the onsite situation before installing the downspout.
2.After determining the position of the downpipe, open an openingin the sink and connect the downpipe; Connect the sink and drairpipe with a drain, and fix them with glue; Fix the drain pipe to thecolumn with a bayonet to prevent it from moving.

Instalation steps

lnstall Glass

According to the glass distribution diagram, place theglass on the top adhesive strip, adjust the installationdistance and reserve the adhesive position for application.After the glass installation is completed, reinforce it with aglass base cover plate.

Instalation steps

Installation Completed

After the overall top installation is completed, conduct awater leakage test or manually simulate rainy weather withprecipitation to test whether the sunroom is leaking

All product debugging and completion

Electronic product debugging:
Debugging electronic products such as LED lights and sunroofs

Debugging of door and window glass:
Debugging door and window glass to ensure smooth sealing and opening/closing,Installation completed, clean up debris and garbage on site, and do a good job of final cleaning.

Acceptance Criteria

Check The Overall Framework

Check the overall framework of the sunroom, includingthe joints of the main frame. The gap should notexceed 5mm and should be tightly connected to thedoors and windows. At the same time, seal it with sealant and avoid shaking.

Check The Materials

Check whether the material is clean, flat, and smooth,with no scratches or scratches on the large surface, andwhether the profile is welded or cracked.

Check The Glass

Check whether the qlass is flat, firmly installed, andshould not be loose. The qlass should not directly contactthe profile, and both the inner and outer surfaces shouldbe clean. There should be no dust or moisture inside the glass interlayer.

Leakage Test

After the top qlass is qlued, wait for the qlue to solidify and conduct a water leakage test manually to simulate rainy weather and check if the sunroom is leaking.

Franchise Process

01

Aisite The Factory

02

Intention To Negotiate

03

Authorization

04

Technical Training

05

Order Interconnection

06

Normal Operration

01

Aisite The Factory

02

Intention To Negotiate

03

Authorization

04

Technical Training

05

Order Interconnection

06

Normal Operration